
Ducts or no ducts
Heat Pump Installation in Belmont, MA
One system that warms the house through the coldest stretch of winter and cools it in summer, designed around your rooms and laid out in a written proposal first.
A System Built Around the House You Actually Live In
Most heating equipment in older homes was chosen by matching the size of whatever came before it, and that habit carries a cost when you switch to a heat pump. An oversized unit short-cycles and leaves rooms clammy; an undersized one struggles on the coldest nights. So our installations start with the house rather than the old boiler. We walk every room, note the windows, the insulation we can see and the rooms that have never held heat, and turn that into a heat-loss based design. From there the choice between ducted and ductless becomes straightforward. If the home has usable ductwork, a ducted air handler can serve it quietly. If it was built around radiators, as so many colonials and two-families were, ductless heads go where they will do the most good. Either way the equipment is a cold-climate model meant to keep heating when the thermometer drops well below freezing. Before anything is ordered, the full scope sits in a written proposal: equipment, head locations, outdoor unit placement, line-set routes, controls and what becomes of the existing heater. You read it, ask questions and decide on your own schedule. If your electricity comes from Belmont Light, the proposal also notes which light plant rebate the design is aimed at, so the paperwork lines up with the equipment from the start.
What an Installation Covers
Houses vary, yet these pieces turn up on almost every job we take.
Room-by-room heat-loss check
Measurements of each room, its windows and its exposure, used to size equipment to the house instead of to the old burner.
Cold-climate equipment
Air-source models built to keep turning out heat when a January night sinks into the single digits.
Ducts or heads
Sound ductwork put back to use; otherwise indoor heads placed where airflow reaches the whole room.
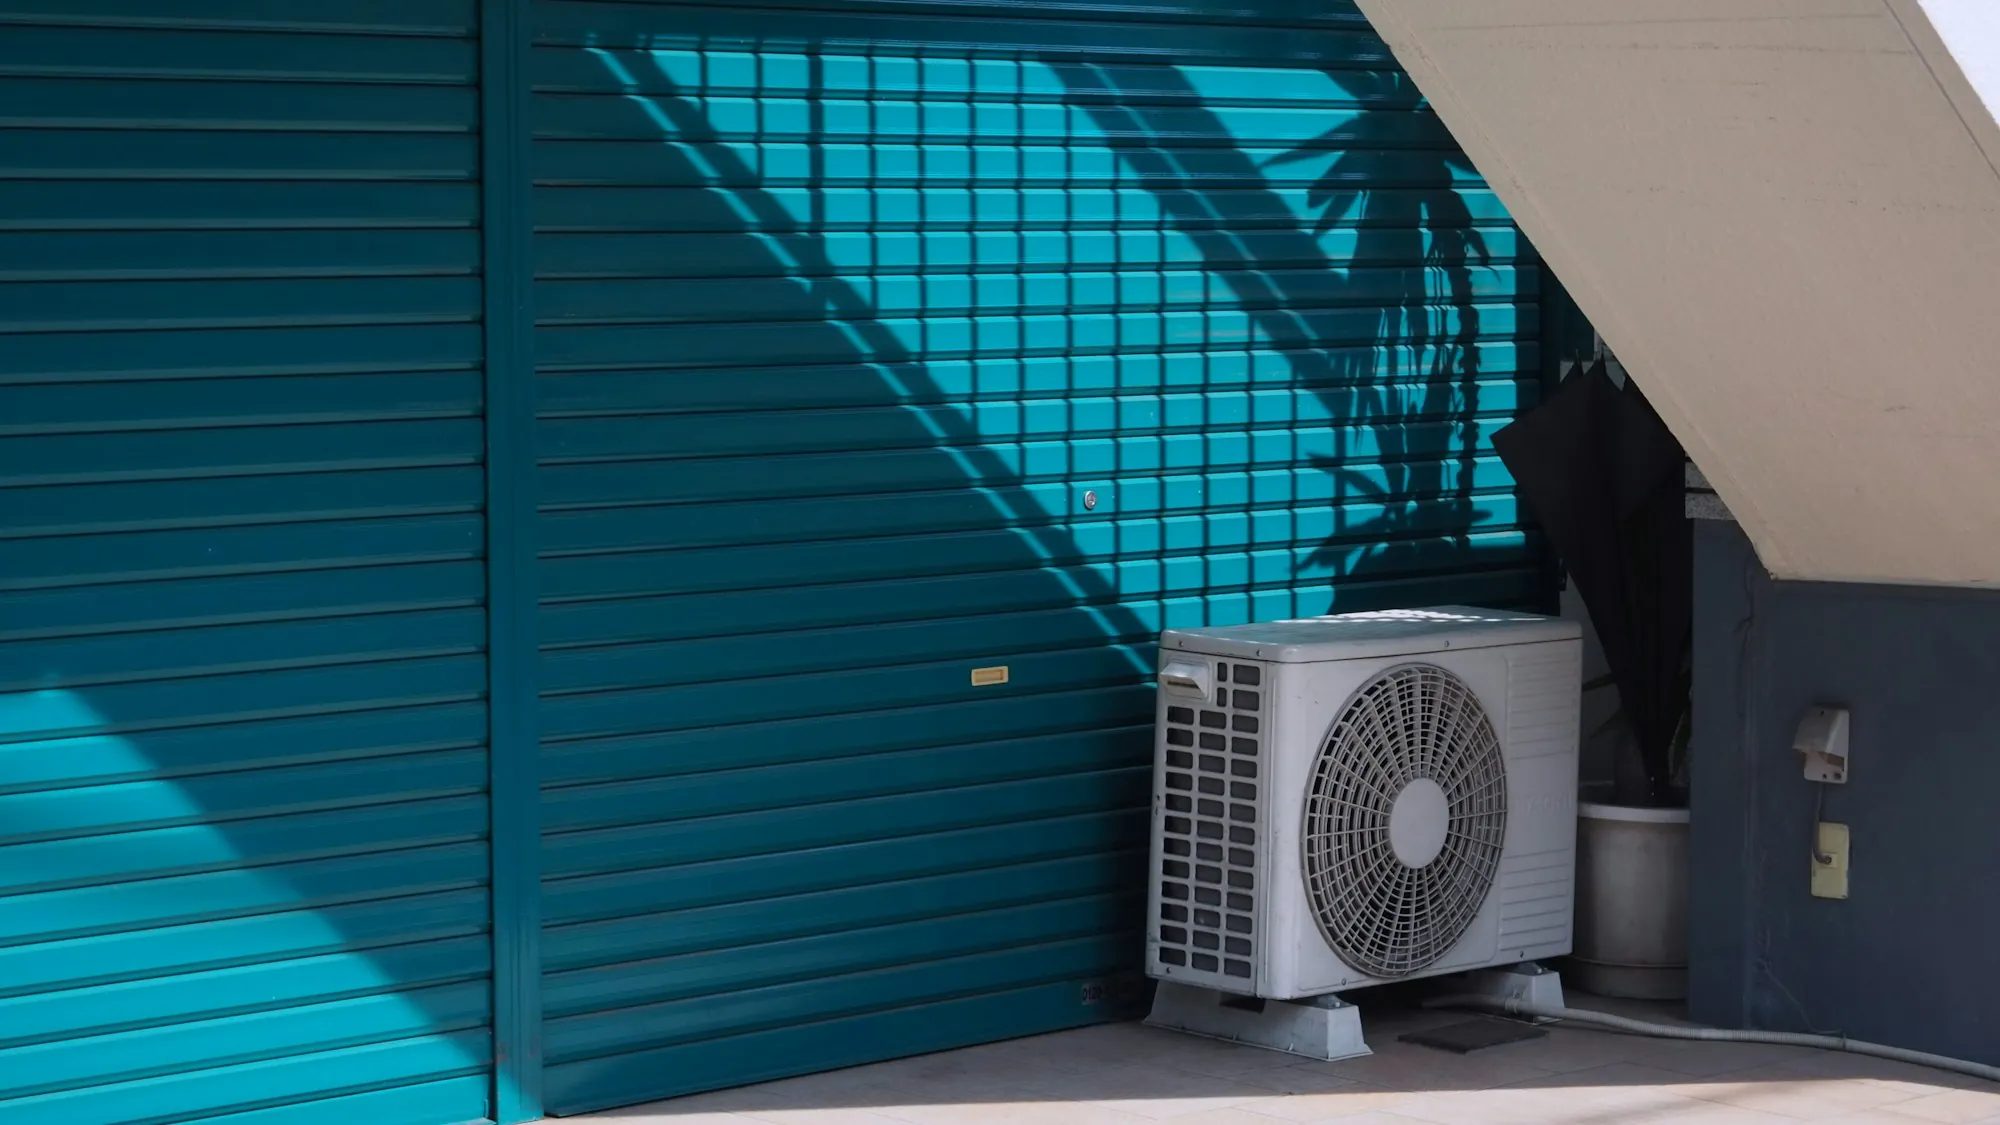
Outdoor unit placement
Pads or wall brackets positioned for airflow, snow clearance, drainage and the neighbors' windows.
Neat line-set routing
Refrigerant lines run along tidy paths, covered where they show, with as few wall penetrations as practical.
Controls and thermostats
Thermostats or remotes set up for each zone, plus integrated controls when an old system stays as a backup.
Startup testing
Refrigerant charge, airflow, drainage and temperature split all confirmed before the crew signs off.
A walkthrough at the end
Time with you at each thermostat or remote so the settings, modes and filter cleaning make sense.
How an Installation Comes Together
Walk the house
We visit, measure the rooms, look at the current heating and agree on where outdoor and indoor equipment can sit. You hear our thinking as we go rather than in a report weeks later.
Read the proposal
The design arrives in writing with the equipment, the price and the rebate picture for your utilities. Take whatever time you need; nothing is ordered until you give the go-ahead.
Install and commission
Equipment is set, line sets are run and covered, the controls are wired and the system is tested. Before leaving, we go over every control with you and leave the area clean.
Why Owners Choose Us for the Install
Design before equipment
You see how each room was sized before we talk model numbers, so the system fits the house you have.
Respect for older homes
Plaster, trim and narrow stairways are planned around carefully, with line-set routes agreed in advance.
Paper that matches the work
The written scope, the installed equipment and the rebate forms all describe the same job.
- Heat-loss design
- Cold-climate units
- Scope in writing
- Controls explained
Curious What Layout Your Rooms Call For?
Describe today's heating and the trouble spots, and you will hear what a layout might look like and what our visit involves.